- Home
- Stripes on 2D image close to beamstop shadow
Stripes on 2D image close to beamstop shadow
Features near to beamstop
The 2D images of a buffer, water or empty capillary have to be always radialy symmetric around the beam position. If it is not the case, generally these features are coming from a misalignment of some beamline components and should be avoided. One can experience two kinds of them (separately or together):
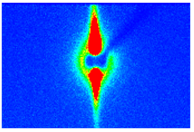
a) HORIZONTAL STRIPE(S), which can be introduced by:
- scattering on liquid/air interface, i.e. meniscus is in the X-ray beam
Action = avoid to hit it: by pushing more/less the liquid in capillary, adding extra flow time, repositioning the beam red mark on SC GUI interface, etc.
- parasitic scattering on beam cleaning slits, vertical blades
Action = realign vertical blades offset: in BsxCuBE Beamline tab go for expert mode, click on Experimental hutch slit1 button. In the small window opened define the step of movement (ex. 0.05mm) and click on Move Left or Right button. The script will move corresponding blades and automagically take 1 second exposure. Look carefully on image if parasitic scattering is better or worst. Continue (with smaller step later) until having radialy symmetric pattern. Sometimes you will need to do the same also with slit2.
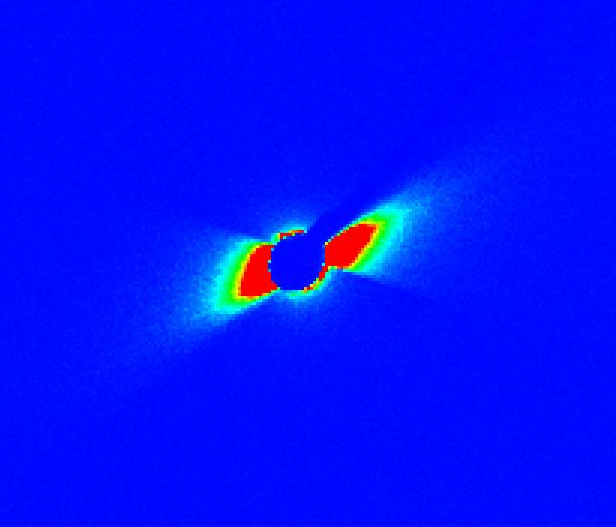
a) VERTICAL STRIPE(S), which can be introduced by:
- scattering on capillary wall, i.e. X-ray beam is not hitting the mid part of sample capillary
Action = realign capillary: fill capillary with something, for ex. water and click on Sample realignment in BsxCuBE Beamline tab. The script will scan the capillary height (sz) and put it in the middle of the deep. To do this you need to have the beam in the experimental hutch (i.e. exp hutch should be interloked, safety shutter open "shopen" and fast shutter open "msopen"). You can align the capillary also manually: move motor sz in spec eh3, ex. mvr sz 0.1 and take a test image to see if better
- parasitic scattering on beam cleanning slits, horizontal blades
Action = realign horizontal blades offset: in BsxCuBE Beamline tab go for expert mode (tonic14), click on Experimental hutch slit1 button. In the small window opened define the step of movement (ex. 0.05mm) and click on Move Up or Down button. The script will move corresponding blades and automagically take 1 second exposure. Look carefully on image if parasitic scattering is better or worst. Continue (with smaller step later) until having radialy symmetric pattern. Sometimes you will need to do the same also with slit2.
How it should look: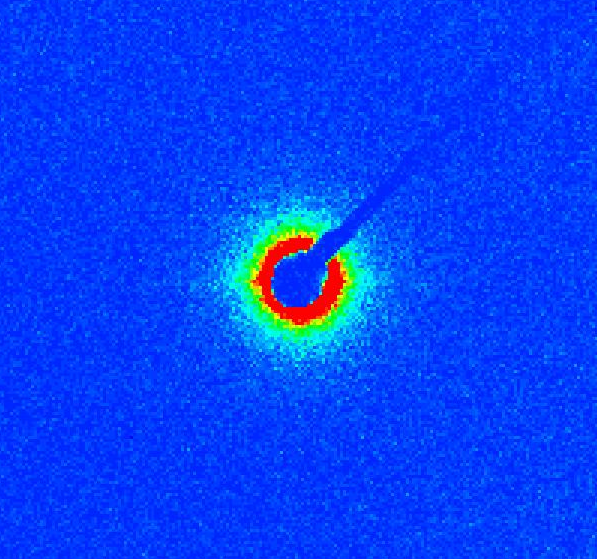
partners


European Synchrotron Radiation Facility - 71, avenue des Martyrs, CS 40220, 38043 Grenoble Cedex 9, France.