Remote Desktop (Windows)
From the SSL Gateway using your site username and password, you have access to the Remote Desktop feature.
You will need:
- A Windows PC at ESRF configured for Remote Desktop
- The Name of the above PC
- A remote PC (at home or on a mission) running Windows 7 or above ; only an ESRF Windows laptop will be supported, and support will only be provided when the laptop is brought back at ESRF
You are kindly invited to test the procedure from an ESRF PC outside the firewall: either Windows desktop PCs in Central Building near the Auditorium, or any ESRF Windows laptop connected to a visitor WiFi network.
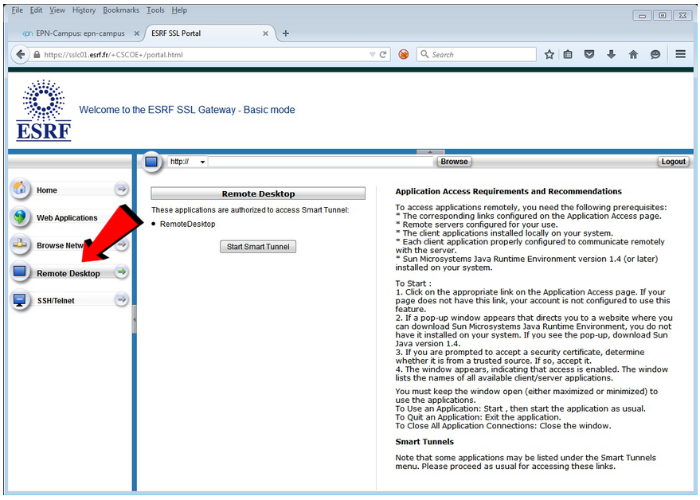
Procedure
- Click on left panel of the SSL - Basic mode home page, Remote Desktop entry.
- And then click on Start Smart Tunnel.
- Once the tunnel is started you should see the window below, with a message saying that "Smart Tunnel has been started"
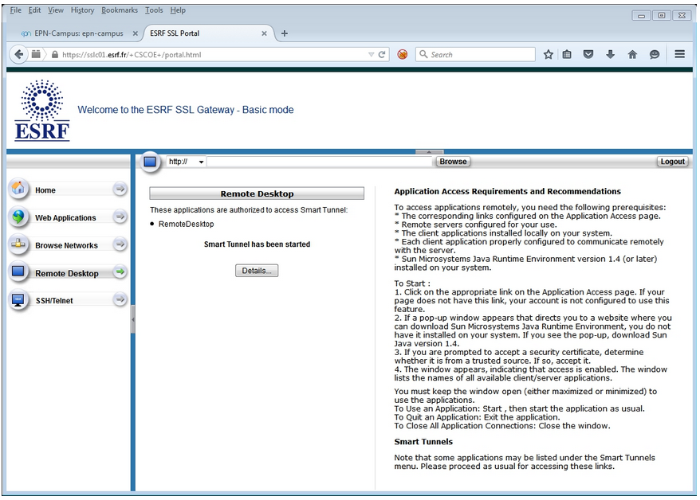
- If you click on Details button, you may get the popup below, asking you to accept that the Java Applet runs.
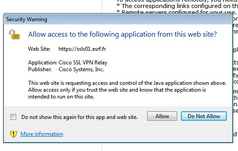
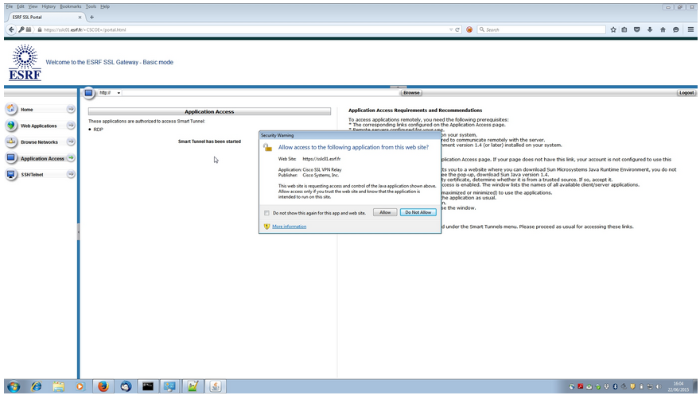
- If this is the case, just click on Allow buttom
Now you have established a connection to ESRF for using your Remote Desktop.
- Run the Windows Remote Desktop Client.
It is usually located in Programs/Accessories or Programs/Accessories/communication
(alternatively you can click Start then select Run and type mstsc and press enter).
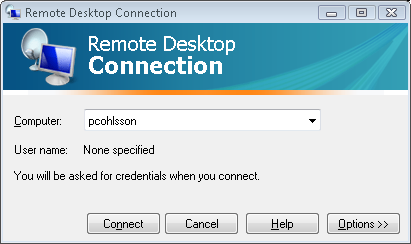
You should have a connection screen like the following:

- Enter your computername
(Note that .esrf.fr is not needed, but please add it in case computername alone does not work):
It is important that you do not install printers by mistake on your work PC.
To avoid this, please select Options and you will have the screen below:
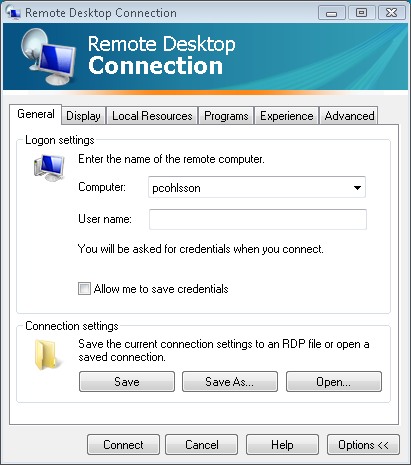
You select the Local resources tab:
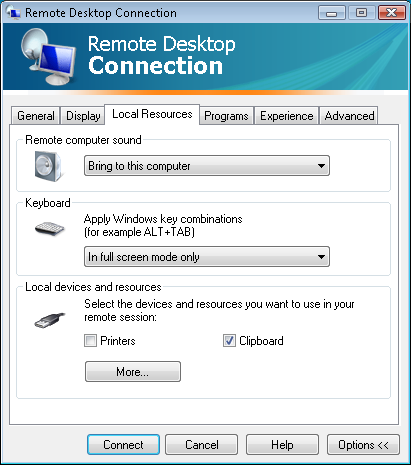
Unselect Printers (as above) and re-click on Options <<
- Click on Connect.
If you have Vista you will be presented with the following screen:
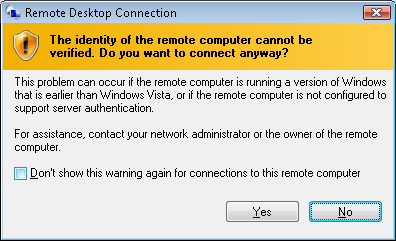
- Just select Yes.
You can select the check box: Don't show this warning again for connection to this remote computer
- You will be prompted with the window below.

- Please, enter your password to login on your remote PC
- Or click on Use another account if User shown as first option does not correspond to the required remote user.
- Your entire screen will be filled with your remote desktop screen:
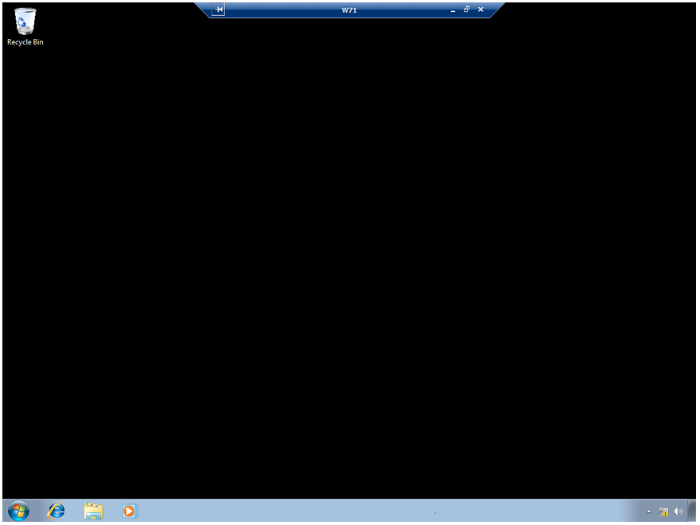
- Note that you either have to log out or to click on the x in the topbar to stop your session
- If you click on - in the topbar, it will iconize and you can see your home PC.
- Note, that in case you loose the topbar, you might accidentally have put it in autohide. Just move the cursor to the top and it will re-appear.
partners


European Synchrotron Radiation Facility - 71, avenue des Martyrs, CS 40220, 38043 Grenoble Cedex 9, France.