SyncbackSE tutorial
SyncbackSE allows you to synchronise your data directory on nice with your external hard drive plugged in on the backup windows PC.
We recommend to start this procedure at the beginning of your experiment so that you can benefit from your local contact help but also so that to come back home at the end of your experiment with all your data backed-up.
1. Launch SyncbackSE by double clicking on the icon :
2. create a new profile with the day's experiment details and external disk :
In the profiles menu select New.
You will then be asked for :
- a name for your profile (e.g. MX-test), click on NEXT
- what type of backup you want to perform : select Synchronize (second item in the list), click on NEXT
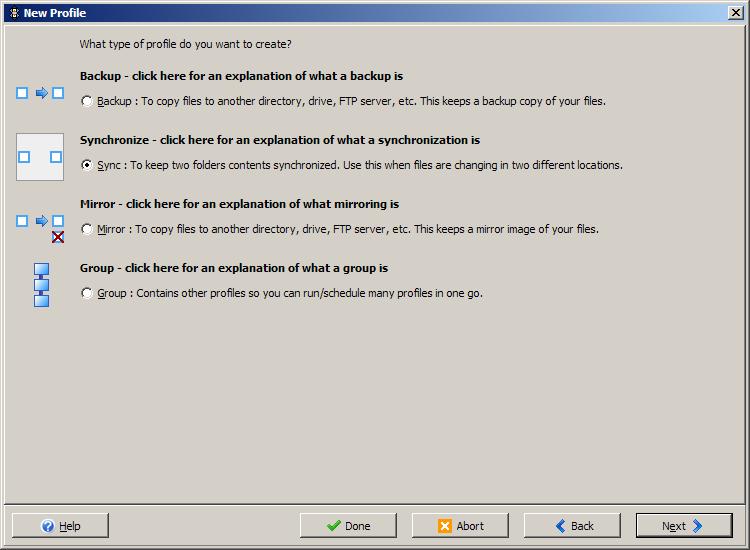
- if you want to backup/sync with an FTP server : No FTP (default answer), Then click on the NEXT Button
- the name & location of the 2 directories to synchronise (your data location on Nice & your hard disk location) :
e.g. name= Nice , select the folder that contains the data, click on the folder icon and select OPID14 on WID141IO, then visitor on 'gxge1' (X:), then your experiment number (e.g. MX415), your beamline & date of experiment (e.g. id14eh1 and 20100510).
[Note that you can decide to only backup your images and not the processed data or vice versa and therefore you can go one step down and choose RAW_DATA or PROCESSED_DATA]
In this example, after clicking OK you will see the following path appearing in the field:
Then click on NEXT and you will be asked to fill the same kind of information for your disk location:
name=USB, path= D:\20100510
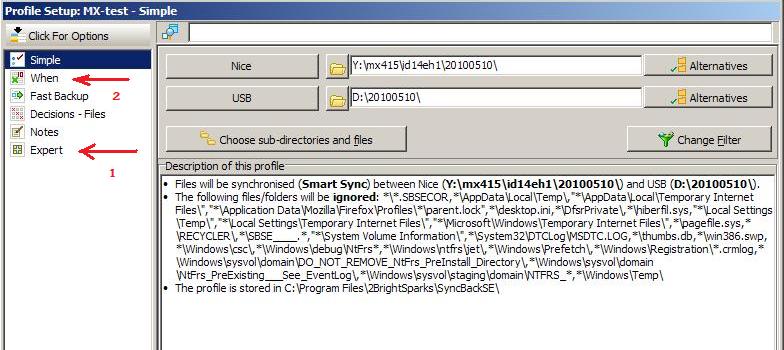
Then click on DONE, and you'll access to a summary page of your profile.
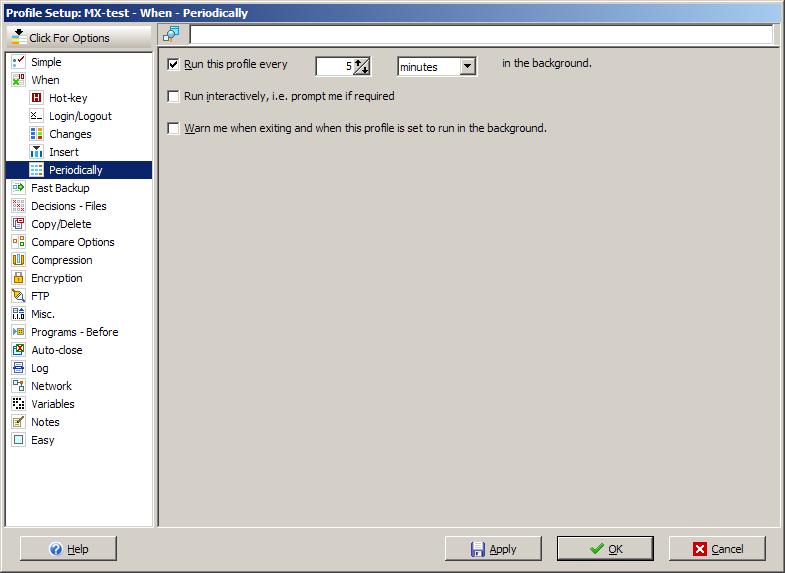
3. Request that synchronisation is launched every 5 minutes :
in the left menu of your Profile summary, click on Expert, then on the same left menu click on When.
It will provide you with a list of sub-menus, click on Periodically and write how frequently you request the synchronisation to be relaunched. (e.g. every 5 minutes as shown on the image)
4. Run your backup
If the backup doesn't launch by itself, you can select your profile in the list and click on Run on the bottom menu bar.

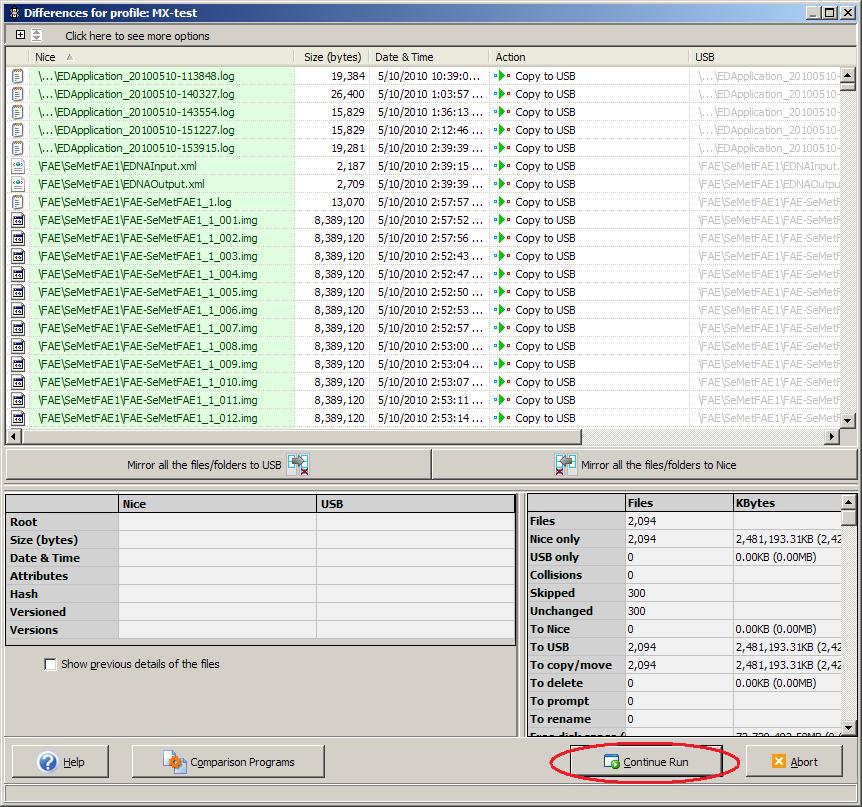
After a moment, It will provide you with the list of differences observed between the 2 locations. Please click on Continue Run. This will start the synchronisation process.
5. At the end of your experiment
Check that the recent images are already copied on your hard drive. Then select your profile from the list and click on Stop! which appears on the bottom menu bar of the interface.
You can then Delete your profile and Exit Syncback by clicking Exit on the same bottom menu bar.
You can now unmount your hard drive from the Windows PC on clicking on the icon from the bottom menu bar of your Windows desktop :

partners


European Synchrotron Radiation Facility - 71, avenue des Martyrs, CS 40220, 38043 Grenoble Cedex 9, France.